Week 6
Now that my parts have arived I can get back to working directly on the float. At the end of last week the tubes came in that will serve as the main float body. I then tested to see if they fit with the old piston and top cap, which they unfortunatly do not at all. These tubes are significatnly smaller in their inner (and probably outer, although that doesn’t really matter to us) diamter than the old tube. Measuring it with a telescoping gauge told me that the inner diamter was 50 thousants smaller than the dimension, which was within the specification that they gave us, however it would’ve been nice to not need to redevelop the o-ring seal.
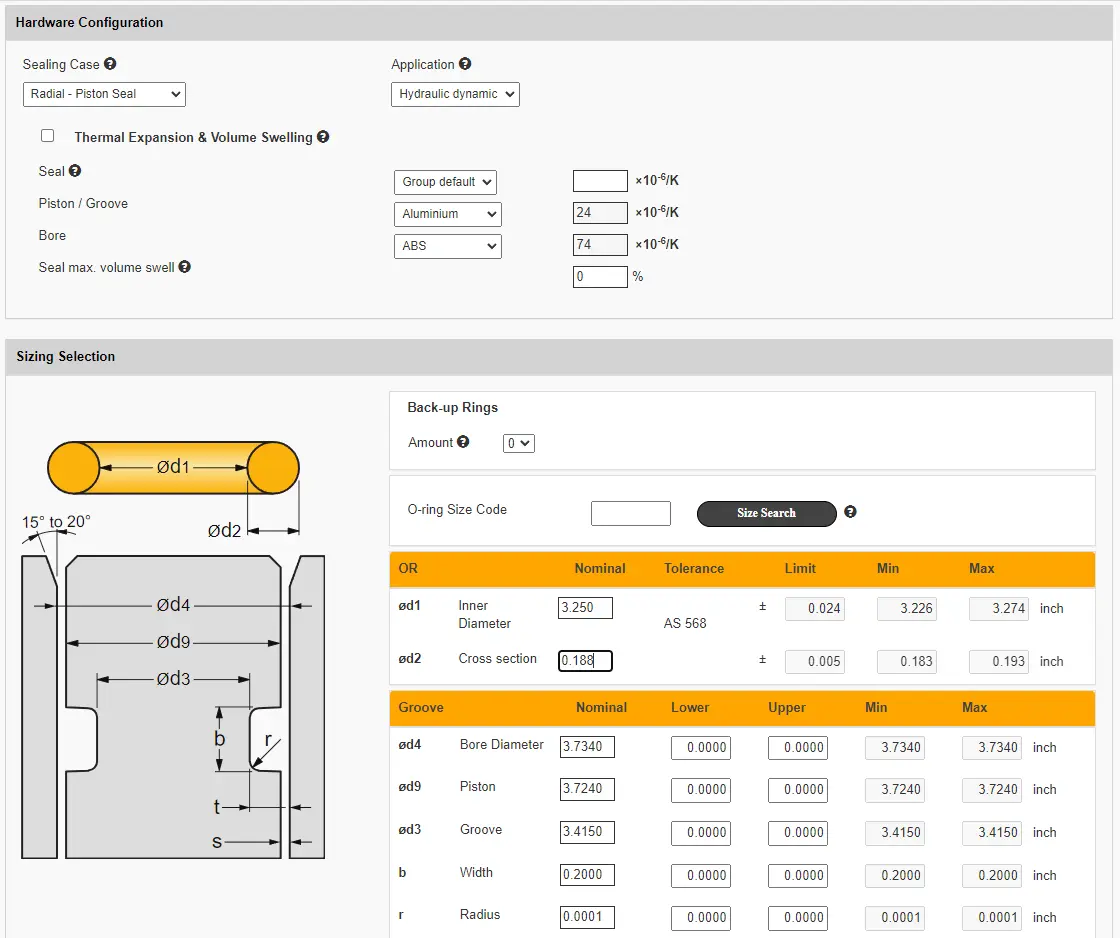
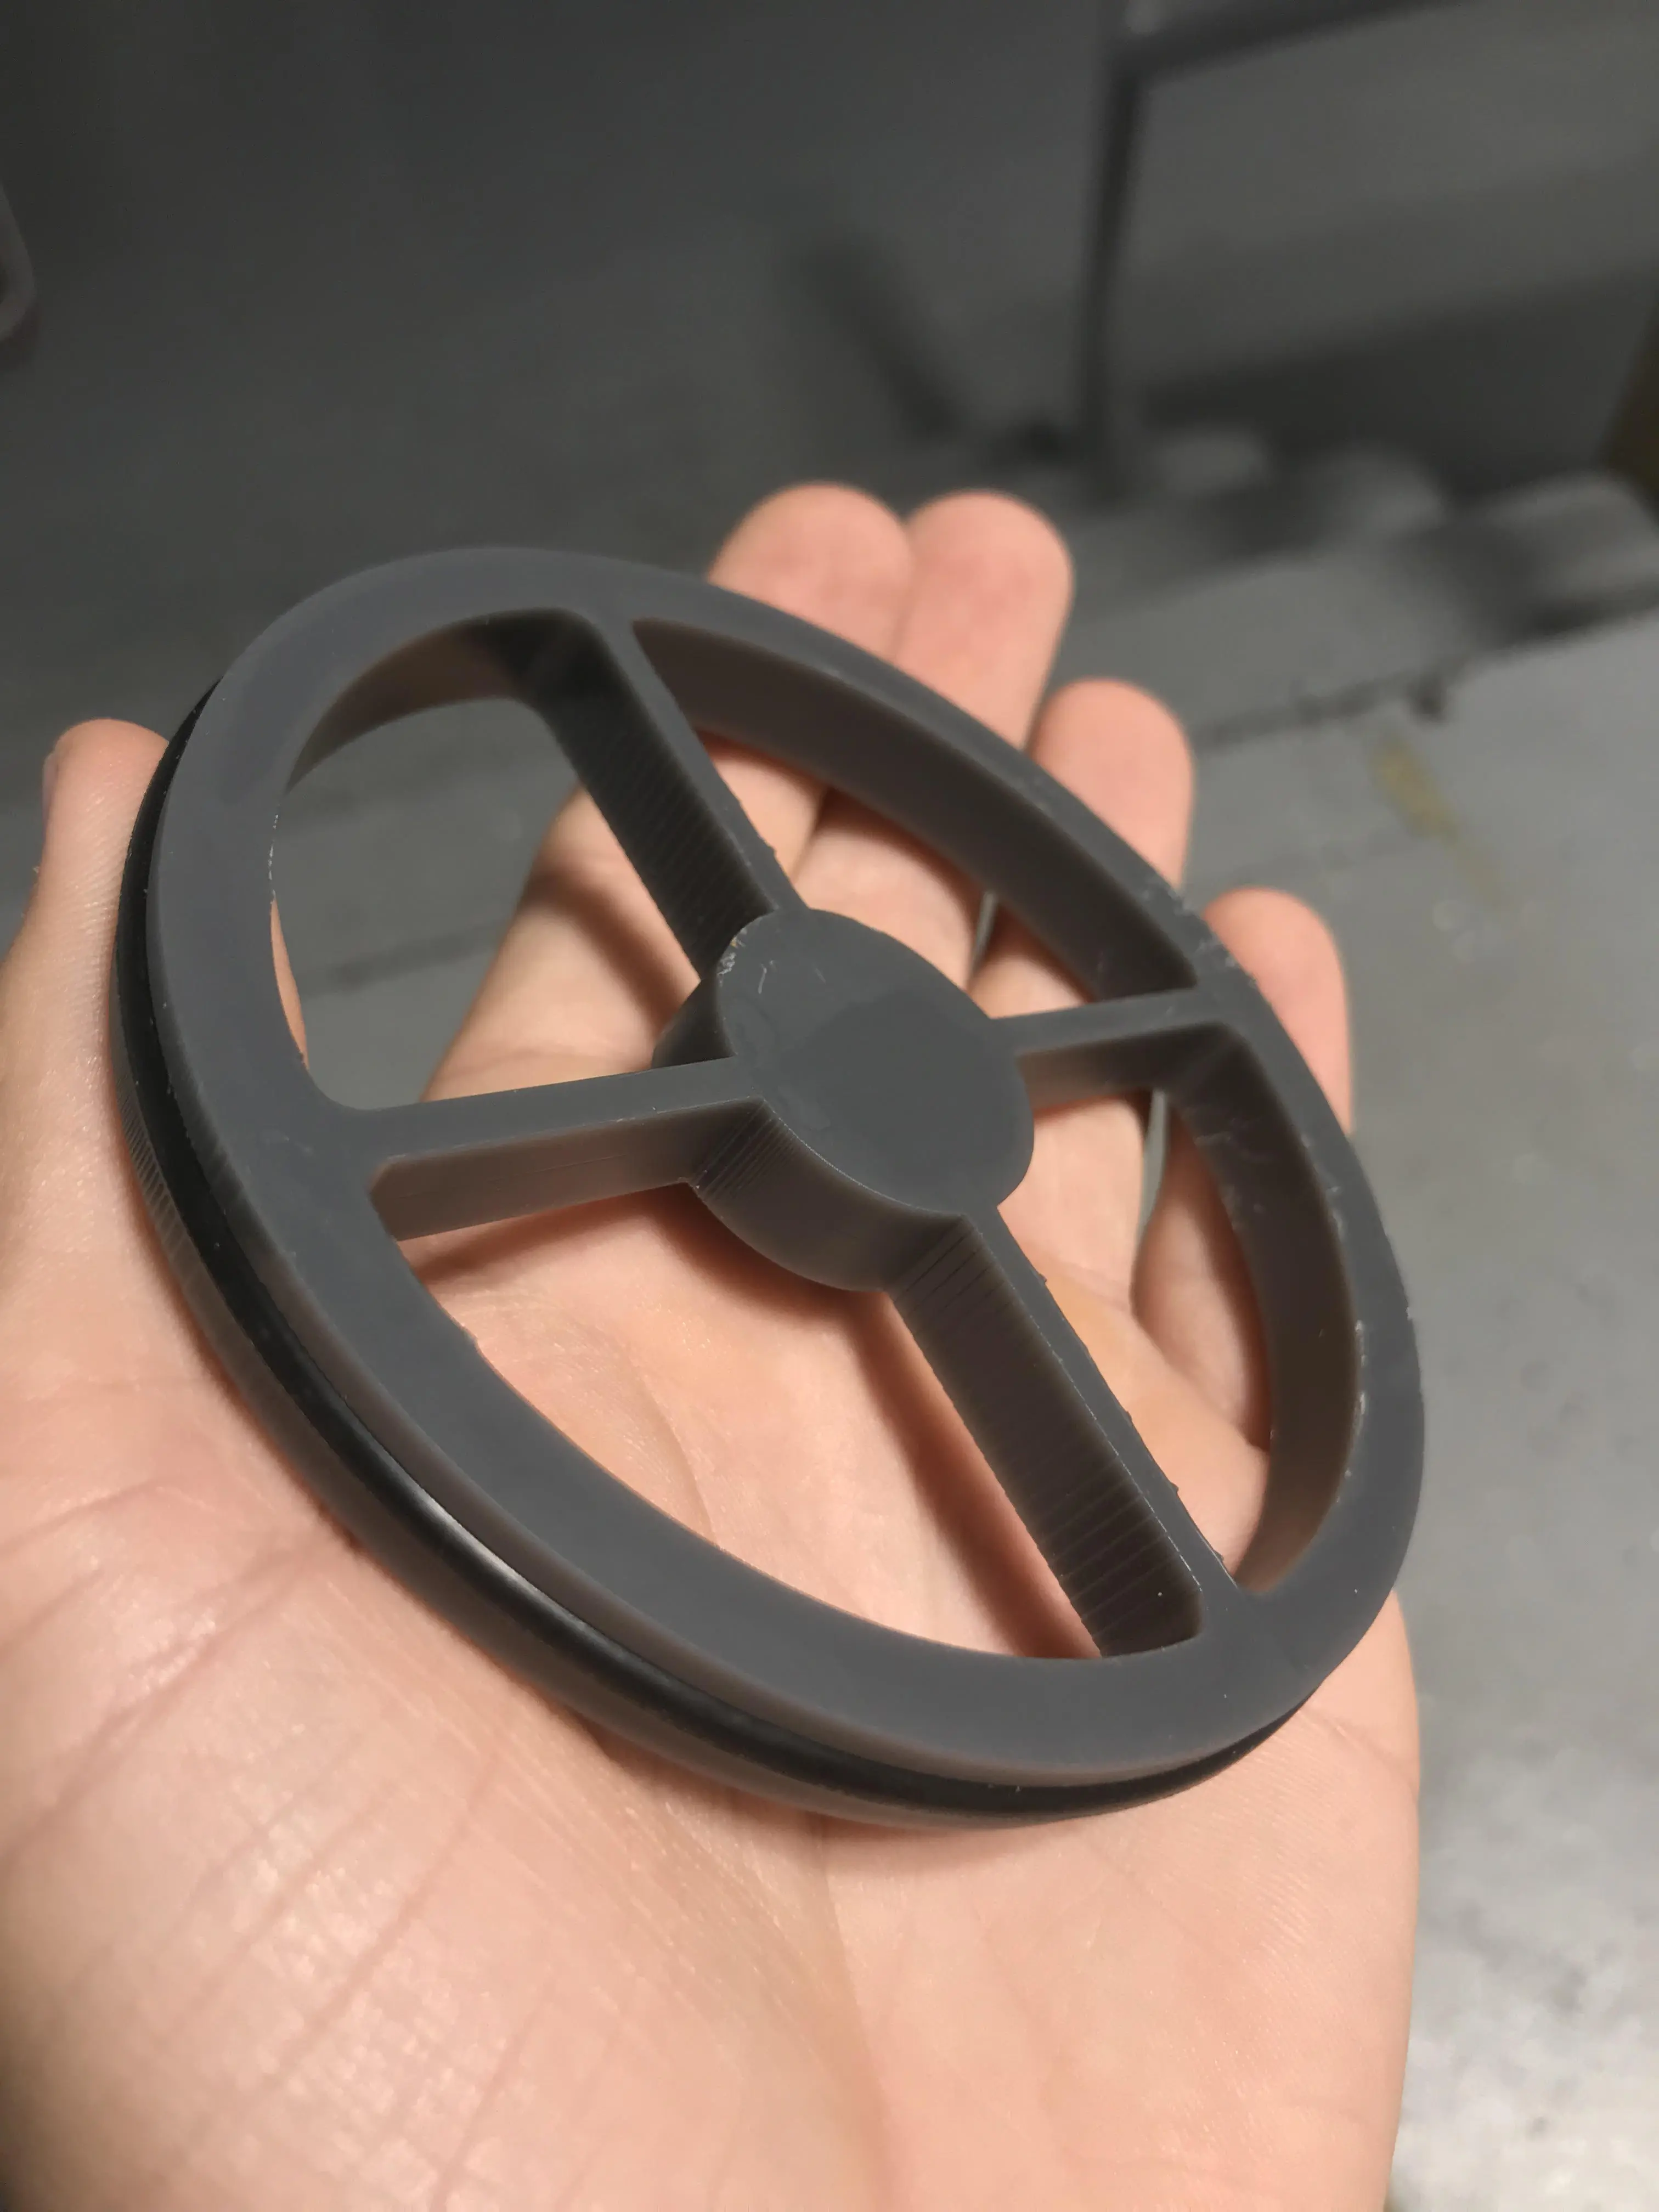
I started off designing for an o-ring that I already had using the Parker onlione o-ring selector. This tool alowed me to easily put in the constants and just mess around with the variables to get a good seal. One of the main problems with this first o-ring is that I wasn’t able to satify both the compression of the seal and the stretch of the inner diameter, as the seal was actually slightly bigger than the container. I then got the numbers to a point that I thought might work and then resin printed a test piece. I used resin here as it is much more accurate than FDM printers, and also resin has the nice positive of being waterproof when FDM prints are not (I realized later that this print also doesn’t need to be waterproof yet). Unfortunatly this seal was much too tight which the o-ring selector had kind of alluded to. I determined that the O-ring was the problem, and found a smaller one with a larger cross section (O-rings are measured in innder diameter and cross section, so I went up a size in ID and down a size in CS). I was proven right when I messd around with the numbers for this new O-ring and was able to get it to be completely within the recommendations with little trouble. This unfortunatly means that now I will have to wait for these new O-rings to come in, which probably won’t be until next week.
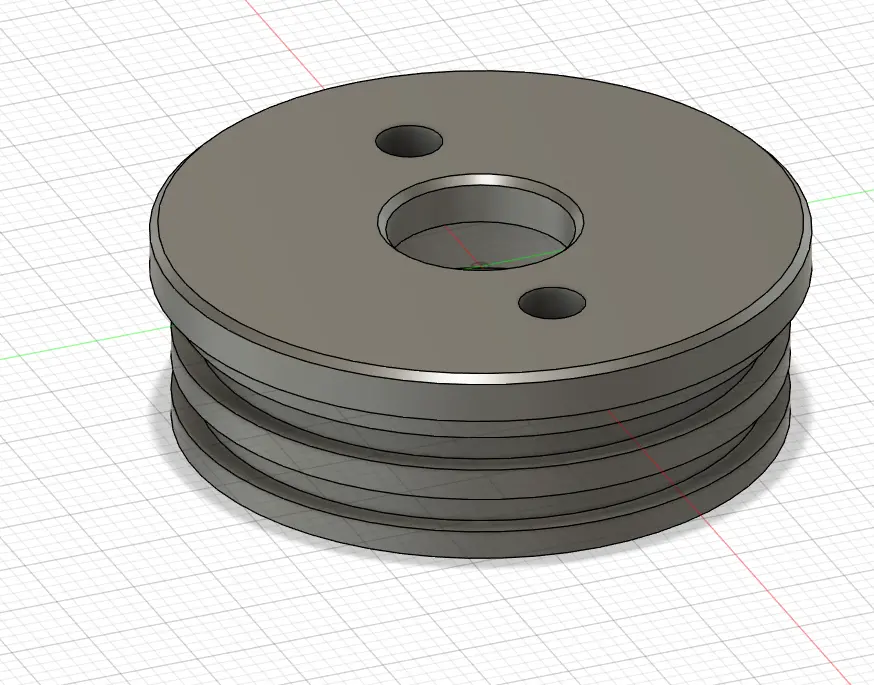
Because of the new dimensions of the tube, the piston isn’t the only thing that needed to be redone. I completely re modeled the top cap, making it much better than before, and also actualy usable with our tubes.