Week 24
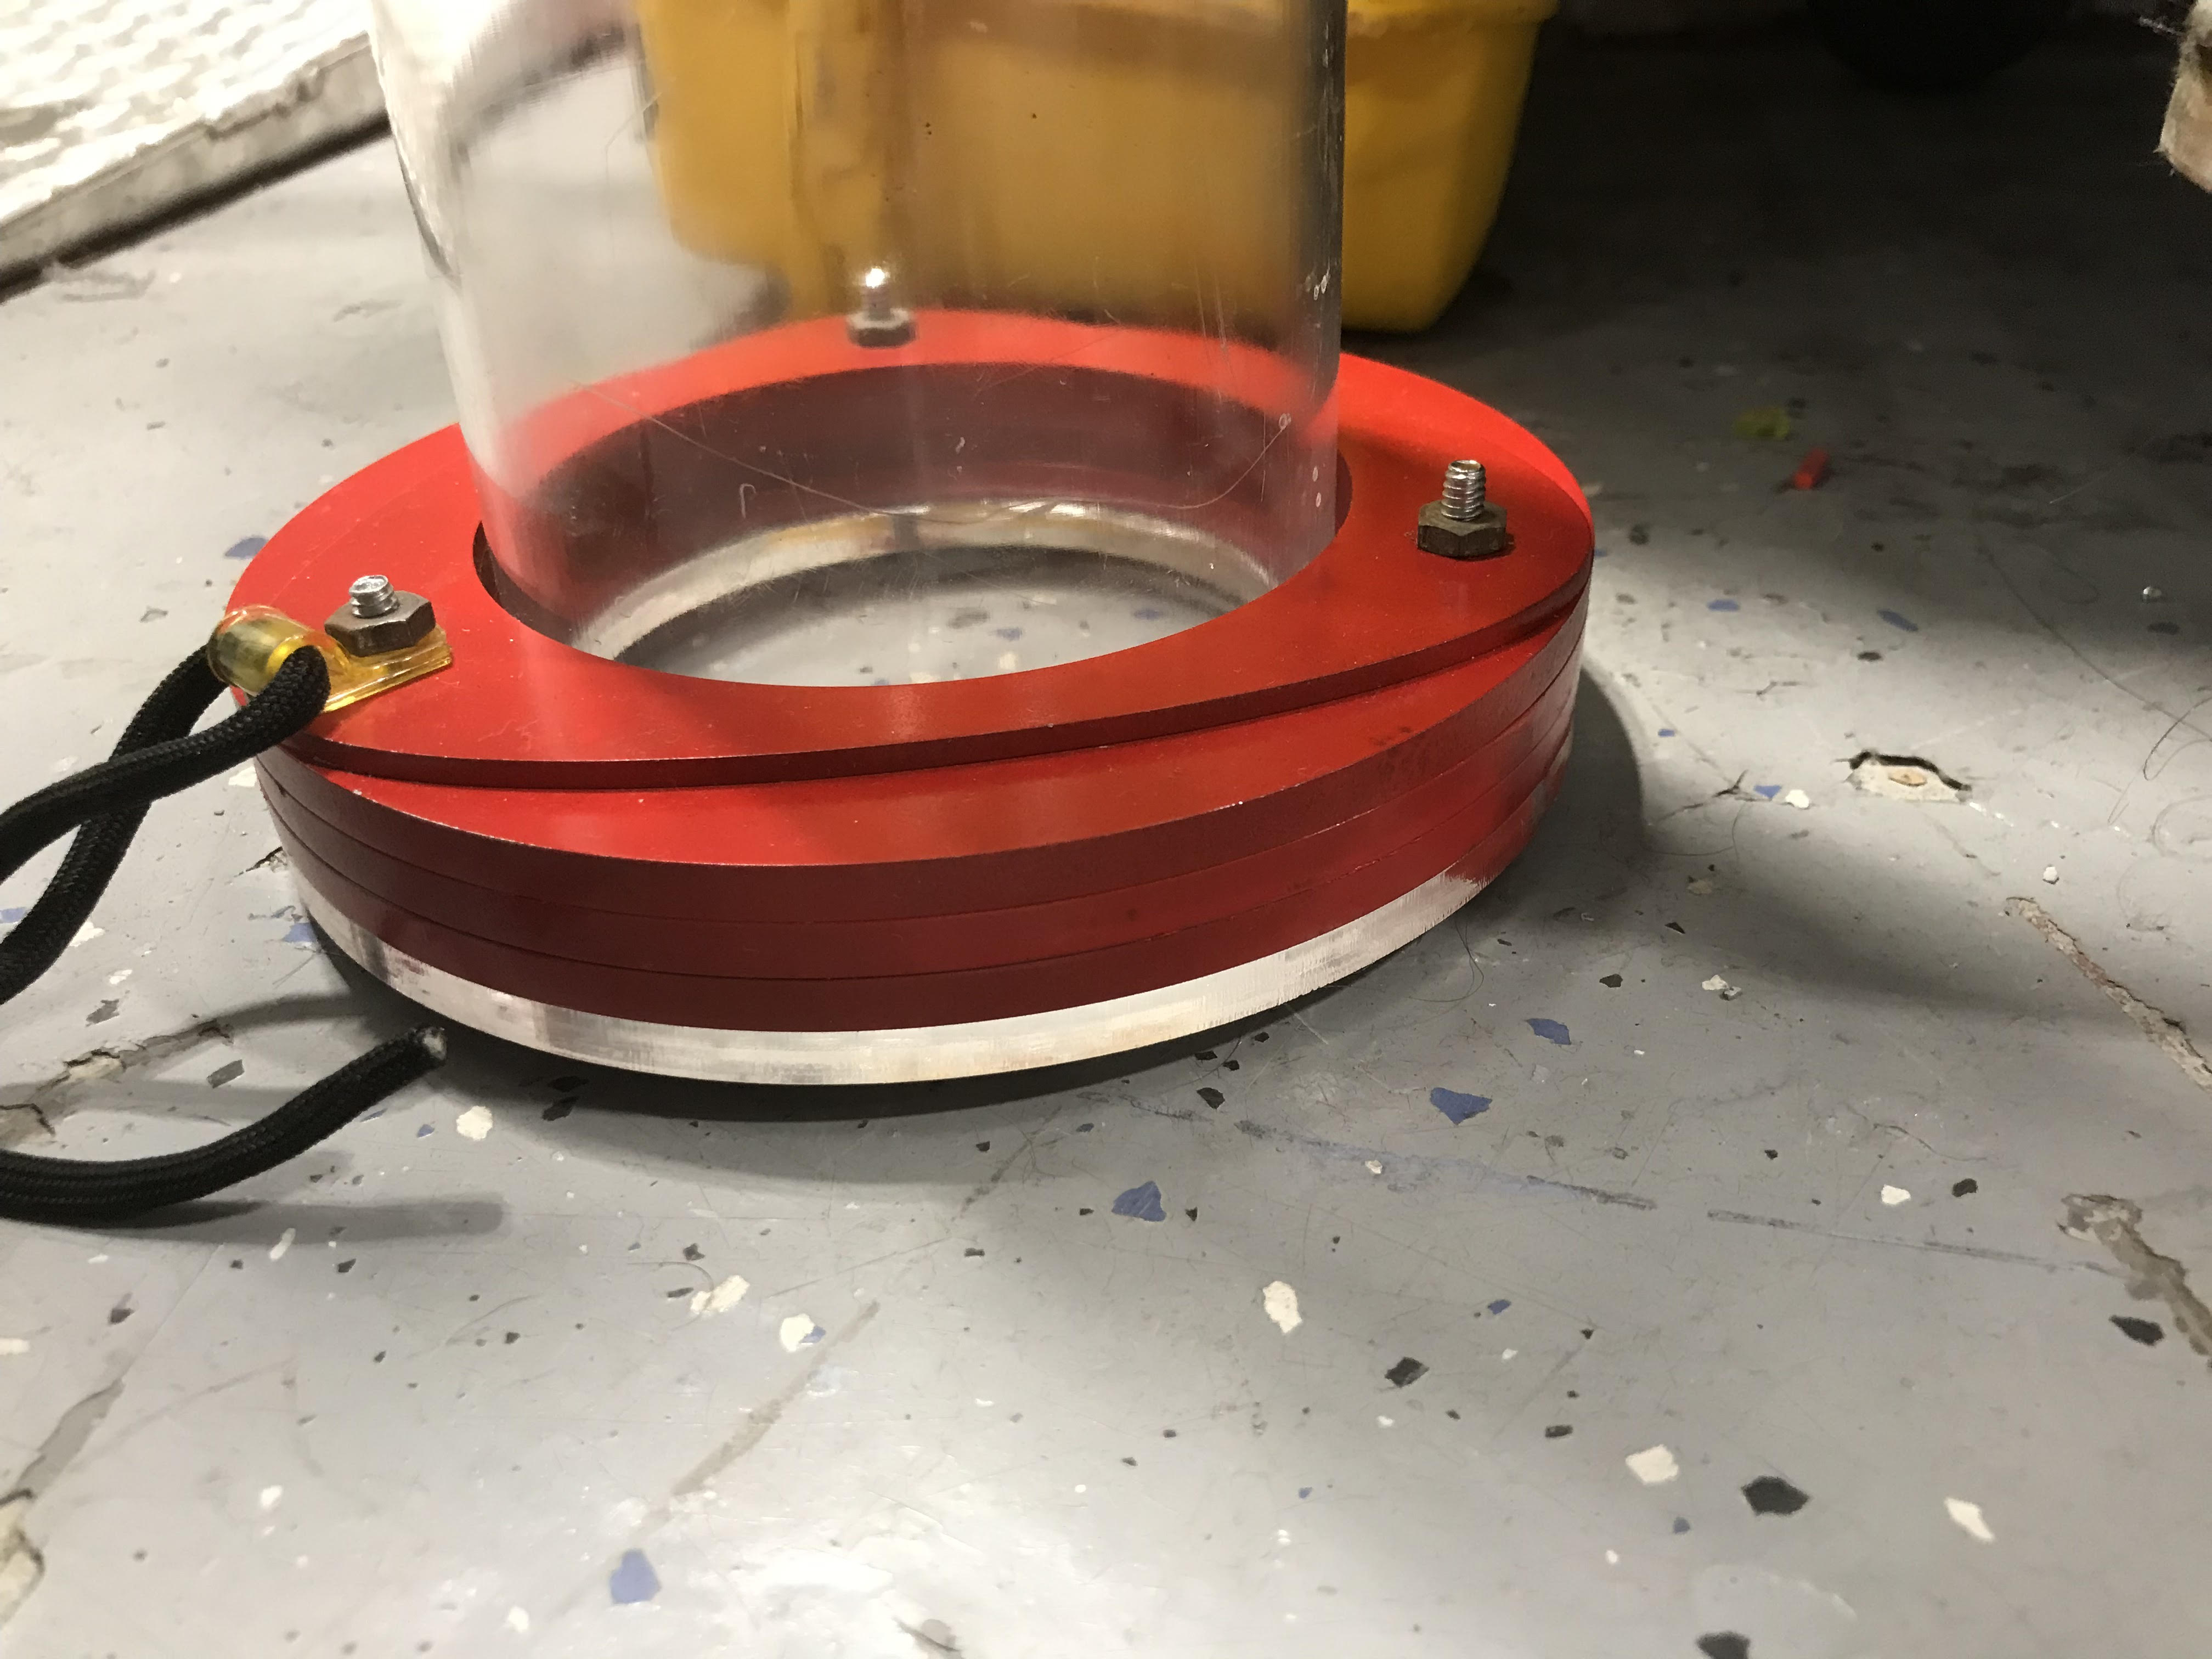
This week was mainly just adding little bits and bobs to the float to make it more reliable, and properly function. So, since last week we realized that the wiring for the Hall Effect Sensor was incorrect, and we are not really sure how it still kinda worked. So now that we have that sorted out we are still going to add the second hall effect to increase reliability even more. My other main task this week was to add another weight to the float. this was pretty easy and I knocked it out in a day on the waterjet and painting booth.
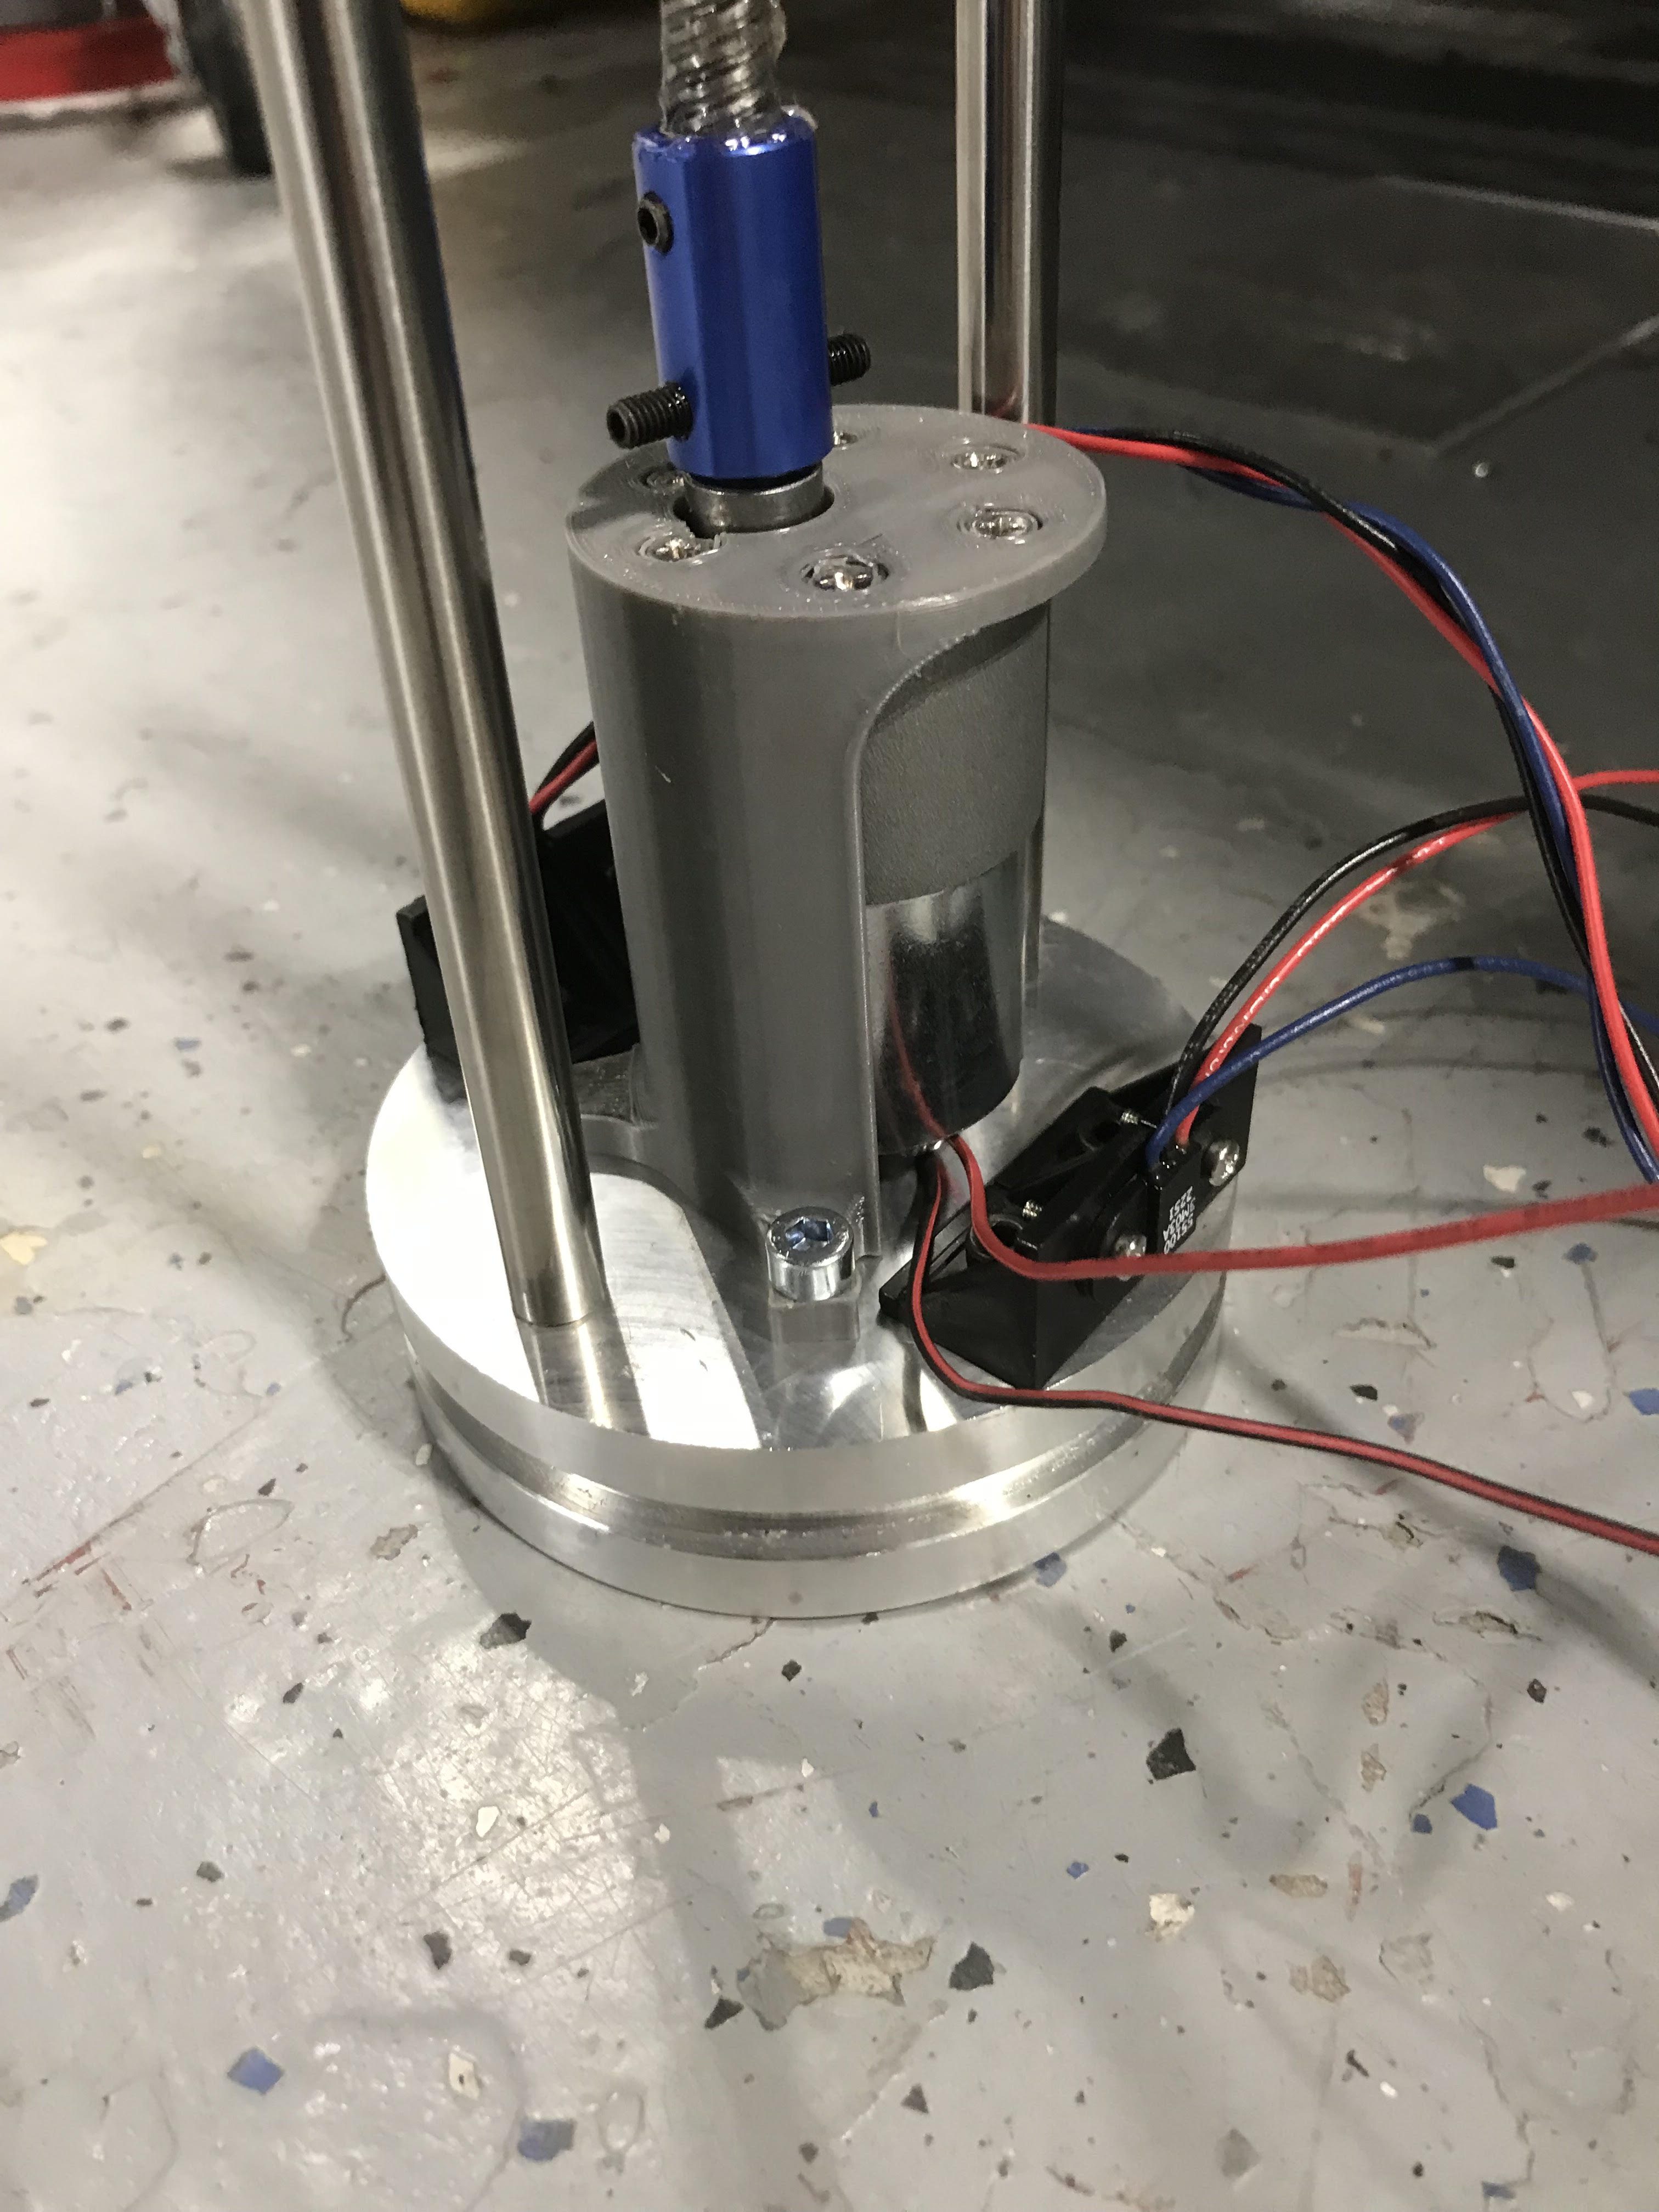
The second hall effect sensor was pretty easy to add, as it is mounted the exact same as the first, just offset 180 degrees to the other side of the piston. This was complicated quite a bit when I decided to snap the tap in the hole. Luckly Mr. Jackson, the amazing metal fab teacher, was able to get it out by building up a nub of welding wire, and grabing it with vice grips. Now its just on the software and electronics to get the hall effect sensor working. This means that from a hardware standpoint we are all good to go on our second pool test.
Another thing that I discovered on my own time this week was the Machinery’s Handbook. I am a bit of a nerd, so this was super cool to find all of the tables of predetermined dimestions and techniques. This area of the shop has always interested me, and I would like to get into designing more mechanical things out of metal, to build my machining and designing skills.