Senior Week 18
This week was pretty good all things considered. I continued with the manufacuring of the stage’s base, as well as starting on the rails. After finishing the rails all I have is some turning to do and then the most complicated portion will be done.
Tuesday
On Tuesday I started off by trying trying to fix what had happened on Friday. On Friday I made a bit of a mistake where I joged an endmill at full speed into my part. While completely destroying the endmill I also knocked the mill’s head alignment out of true.
The mills head, or the bit that holds the spinny thing, has two axis of rotation. This is mainly for cutting different angles without a sine plate, but is also for adjusting the head in these axis of rotation relative to the mill bed
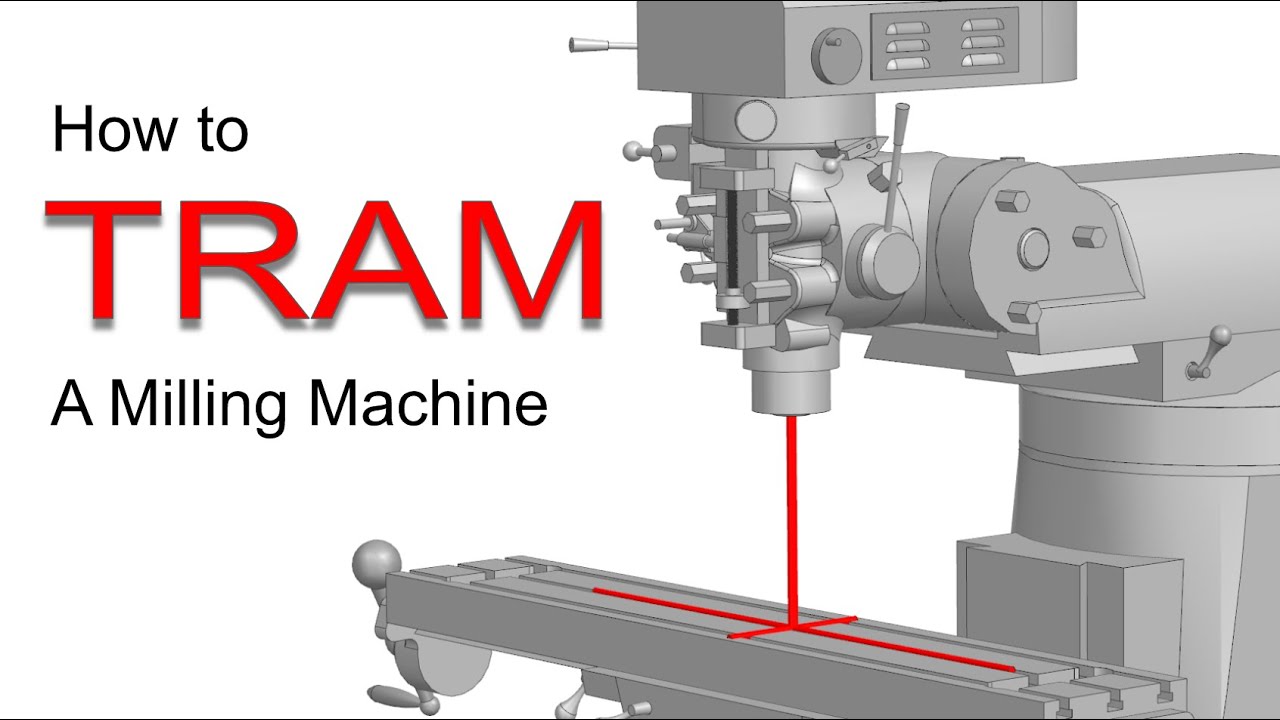
We started off the day by trying to first tram the A axis of rotation true. This is by far the easier axis to tram as there is literally a worm gear that rotates the head. The hardest part about this was the fact that we didn’t exactly have the proper equipment for this. Ideally we have a bar that is put into the quill that holds two dial indicators equidistant from the spindle. What we actually had was a tenths indicator on one arm that we could then swivel around to each side. This has the downsides where you can’t really get to the exact opposite spot in the rotation, as well as it being difficult to get two similar readings when you haven’t even changed anything. Next was the B axis. This had all of the same challenges, however with no worm gear. This means you have to hit different points on the head in order for it to be adjusted.
After I got the axis square, I started what I tried to start on Friday. Forunatly it worked properly and was no longer cutting extremely out of square. Annoyingly this was a very avoidable situation in my oppinion, but this stuff does and will happen.
Wednesday
Wednesday I finished up the base. This was basically just a bunch of manual maching.
I started by facing off about a half an inch of material which took a decent amount of time. This was also pretty boring, but the flycutter made it quite nice, because it is so satifying to get a great surface finish everytime.
After that, I counter bored the holes that hold the stage on to the base. This is so that the bottom of the plate sits on the table instead of sitting on the heads of the bolts
Then I had to face the plate to thickness from the top side. This was only really necessary because when the Tormach milled the pocket the length on the endmill was about 20 thou off. This was unfortunatly one of the only truely critical dimensions. After the facing operations everthing worked.
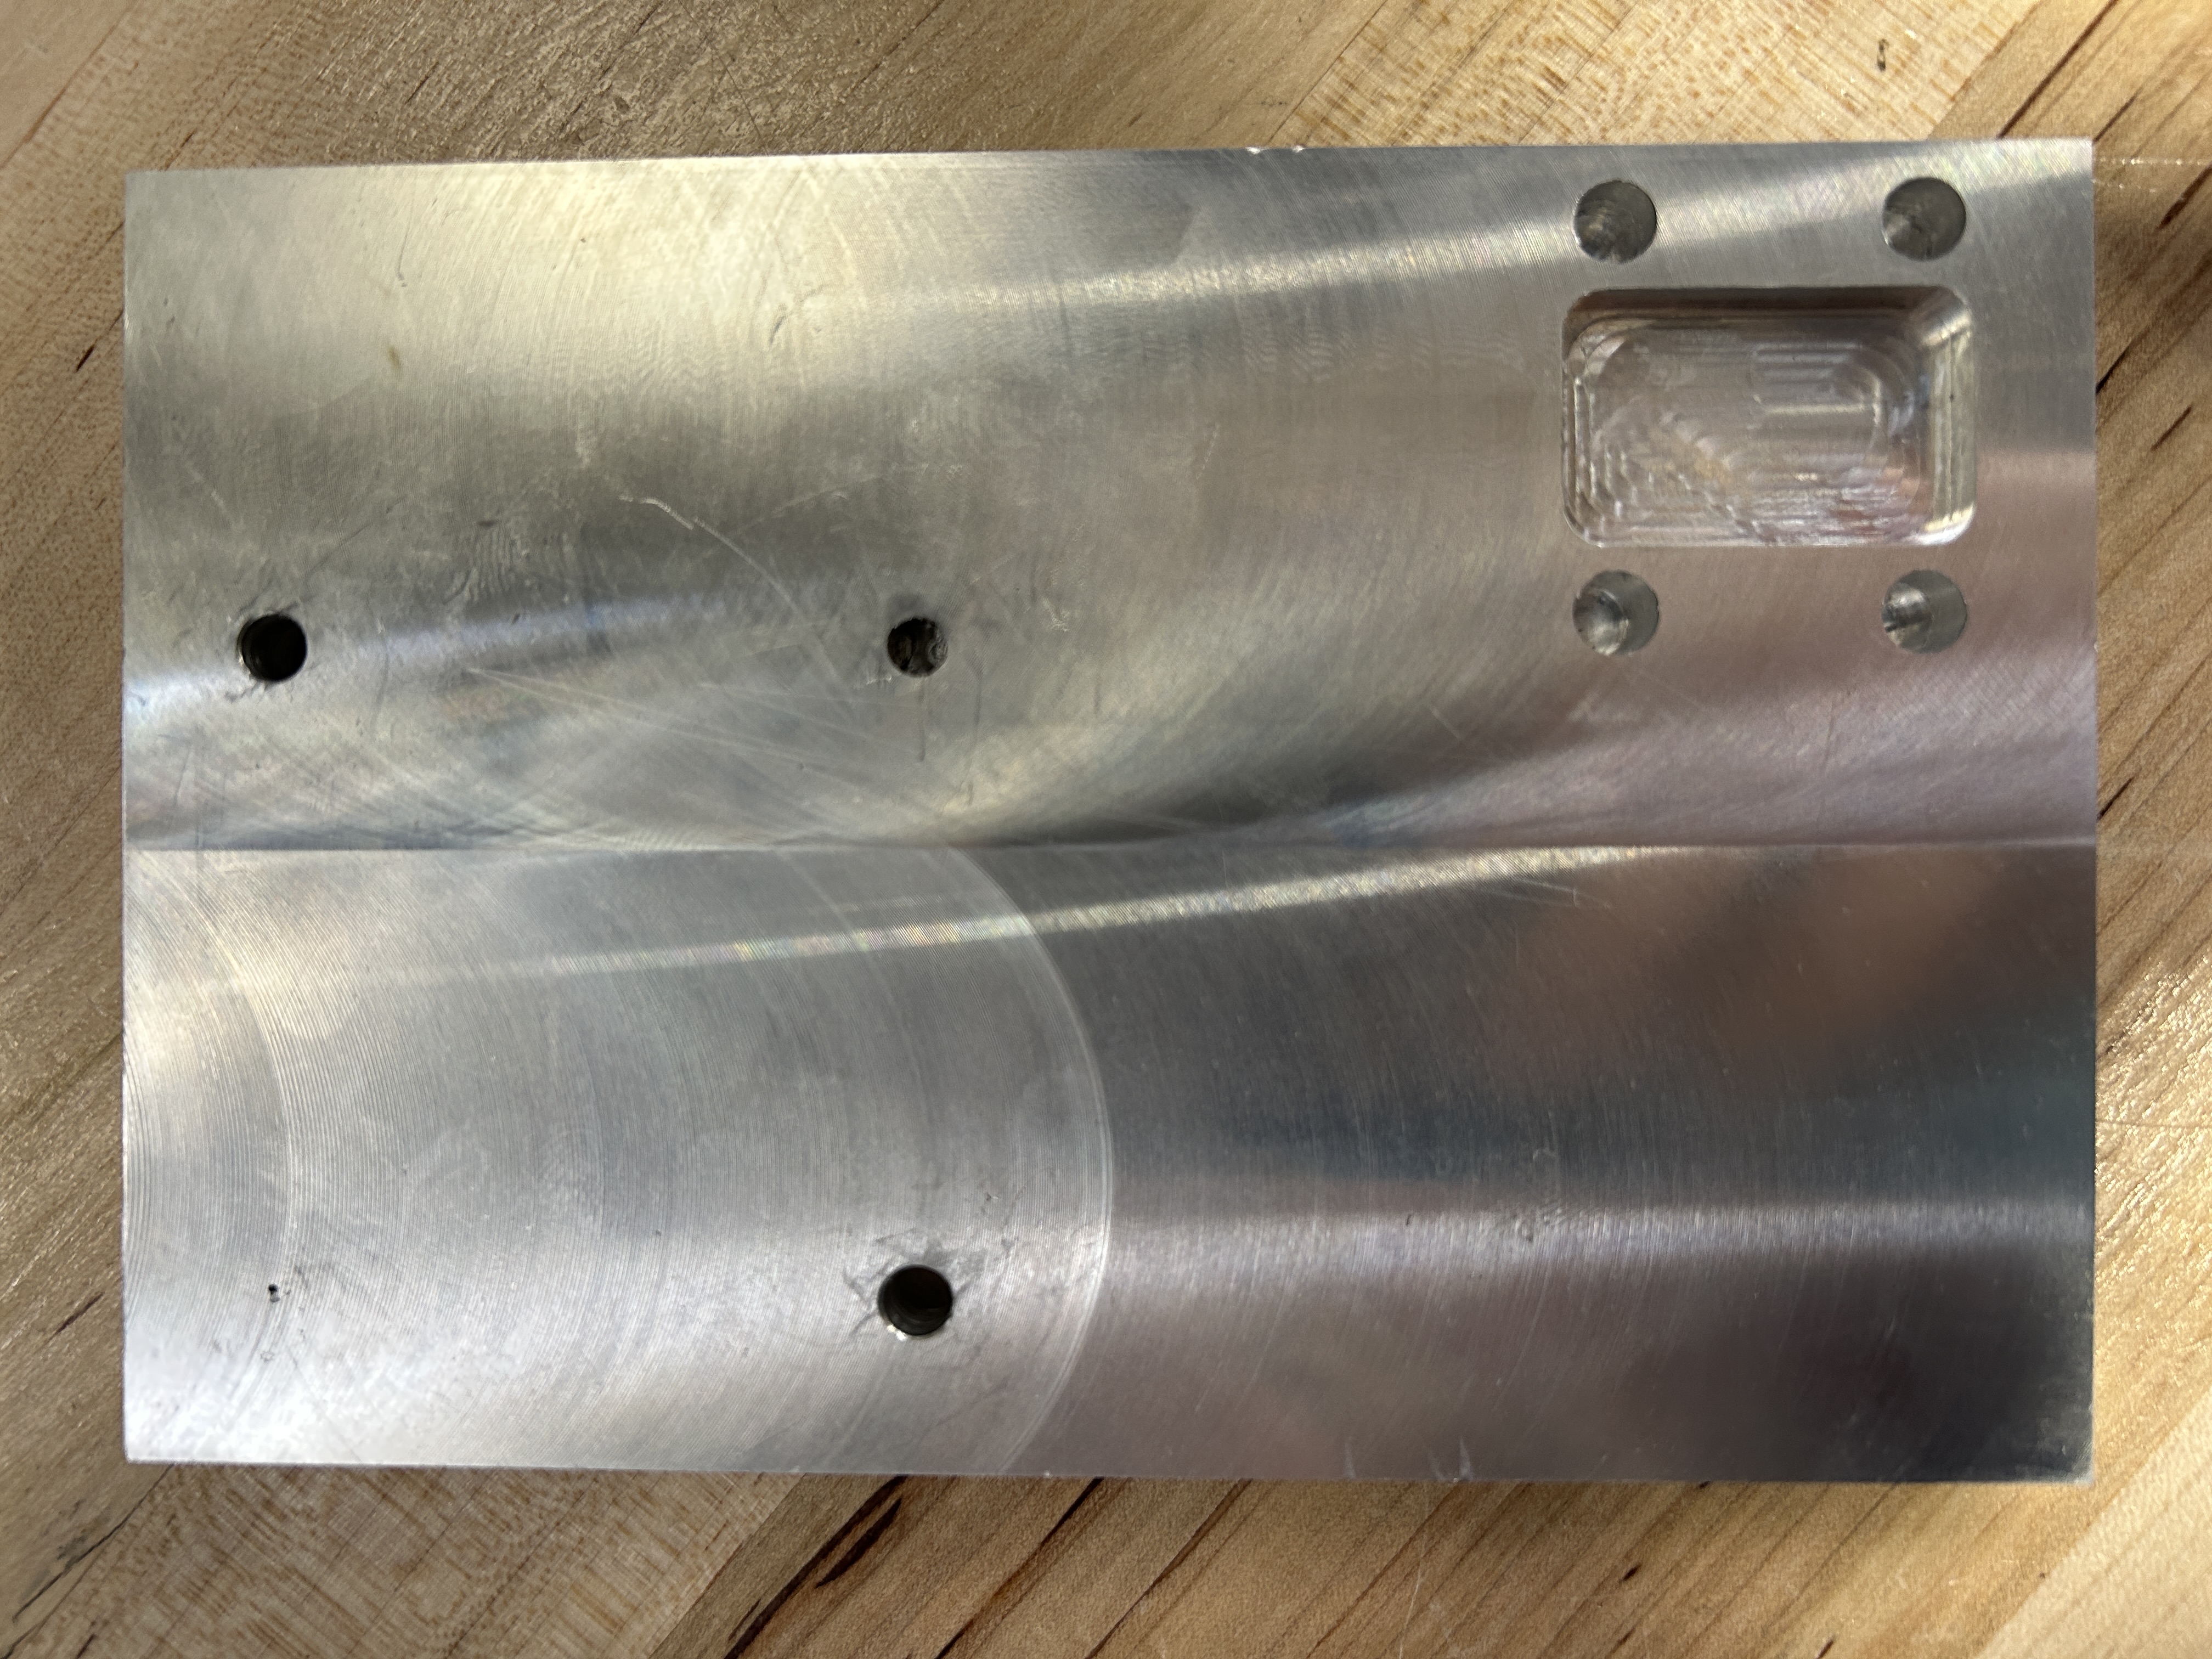

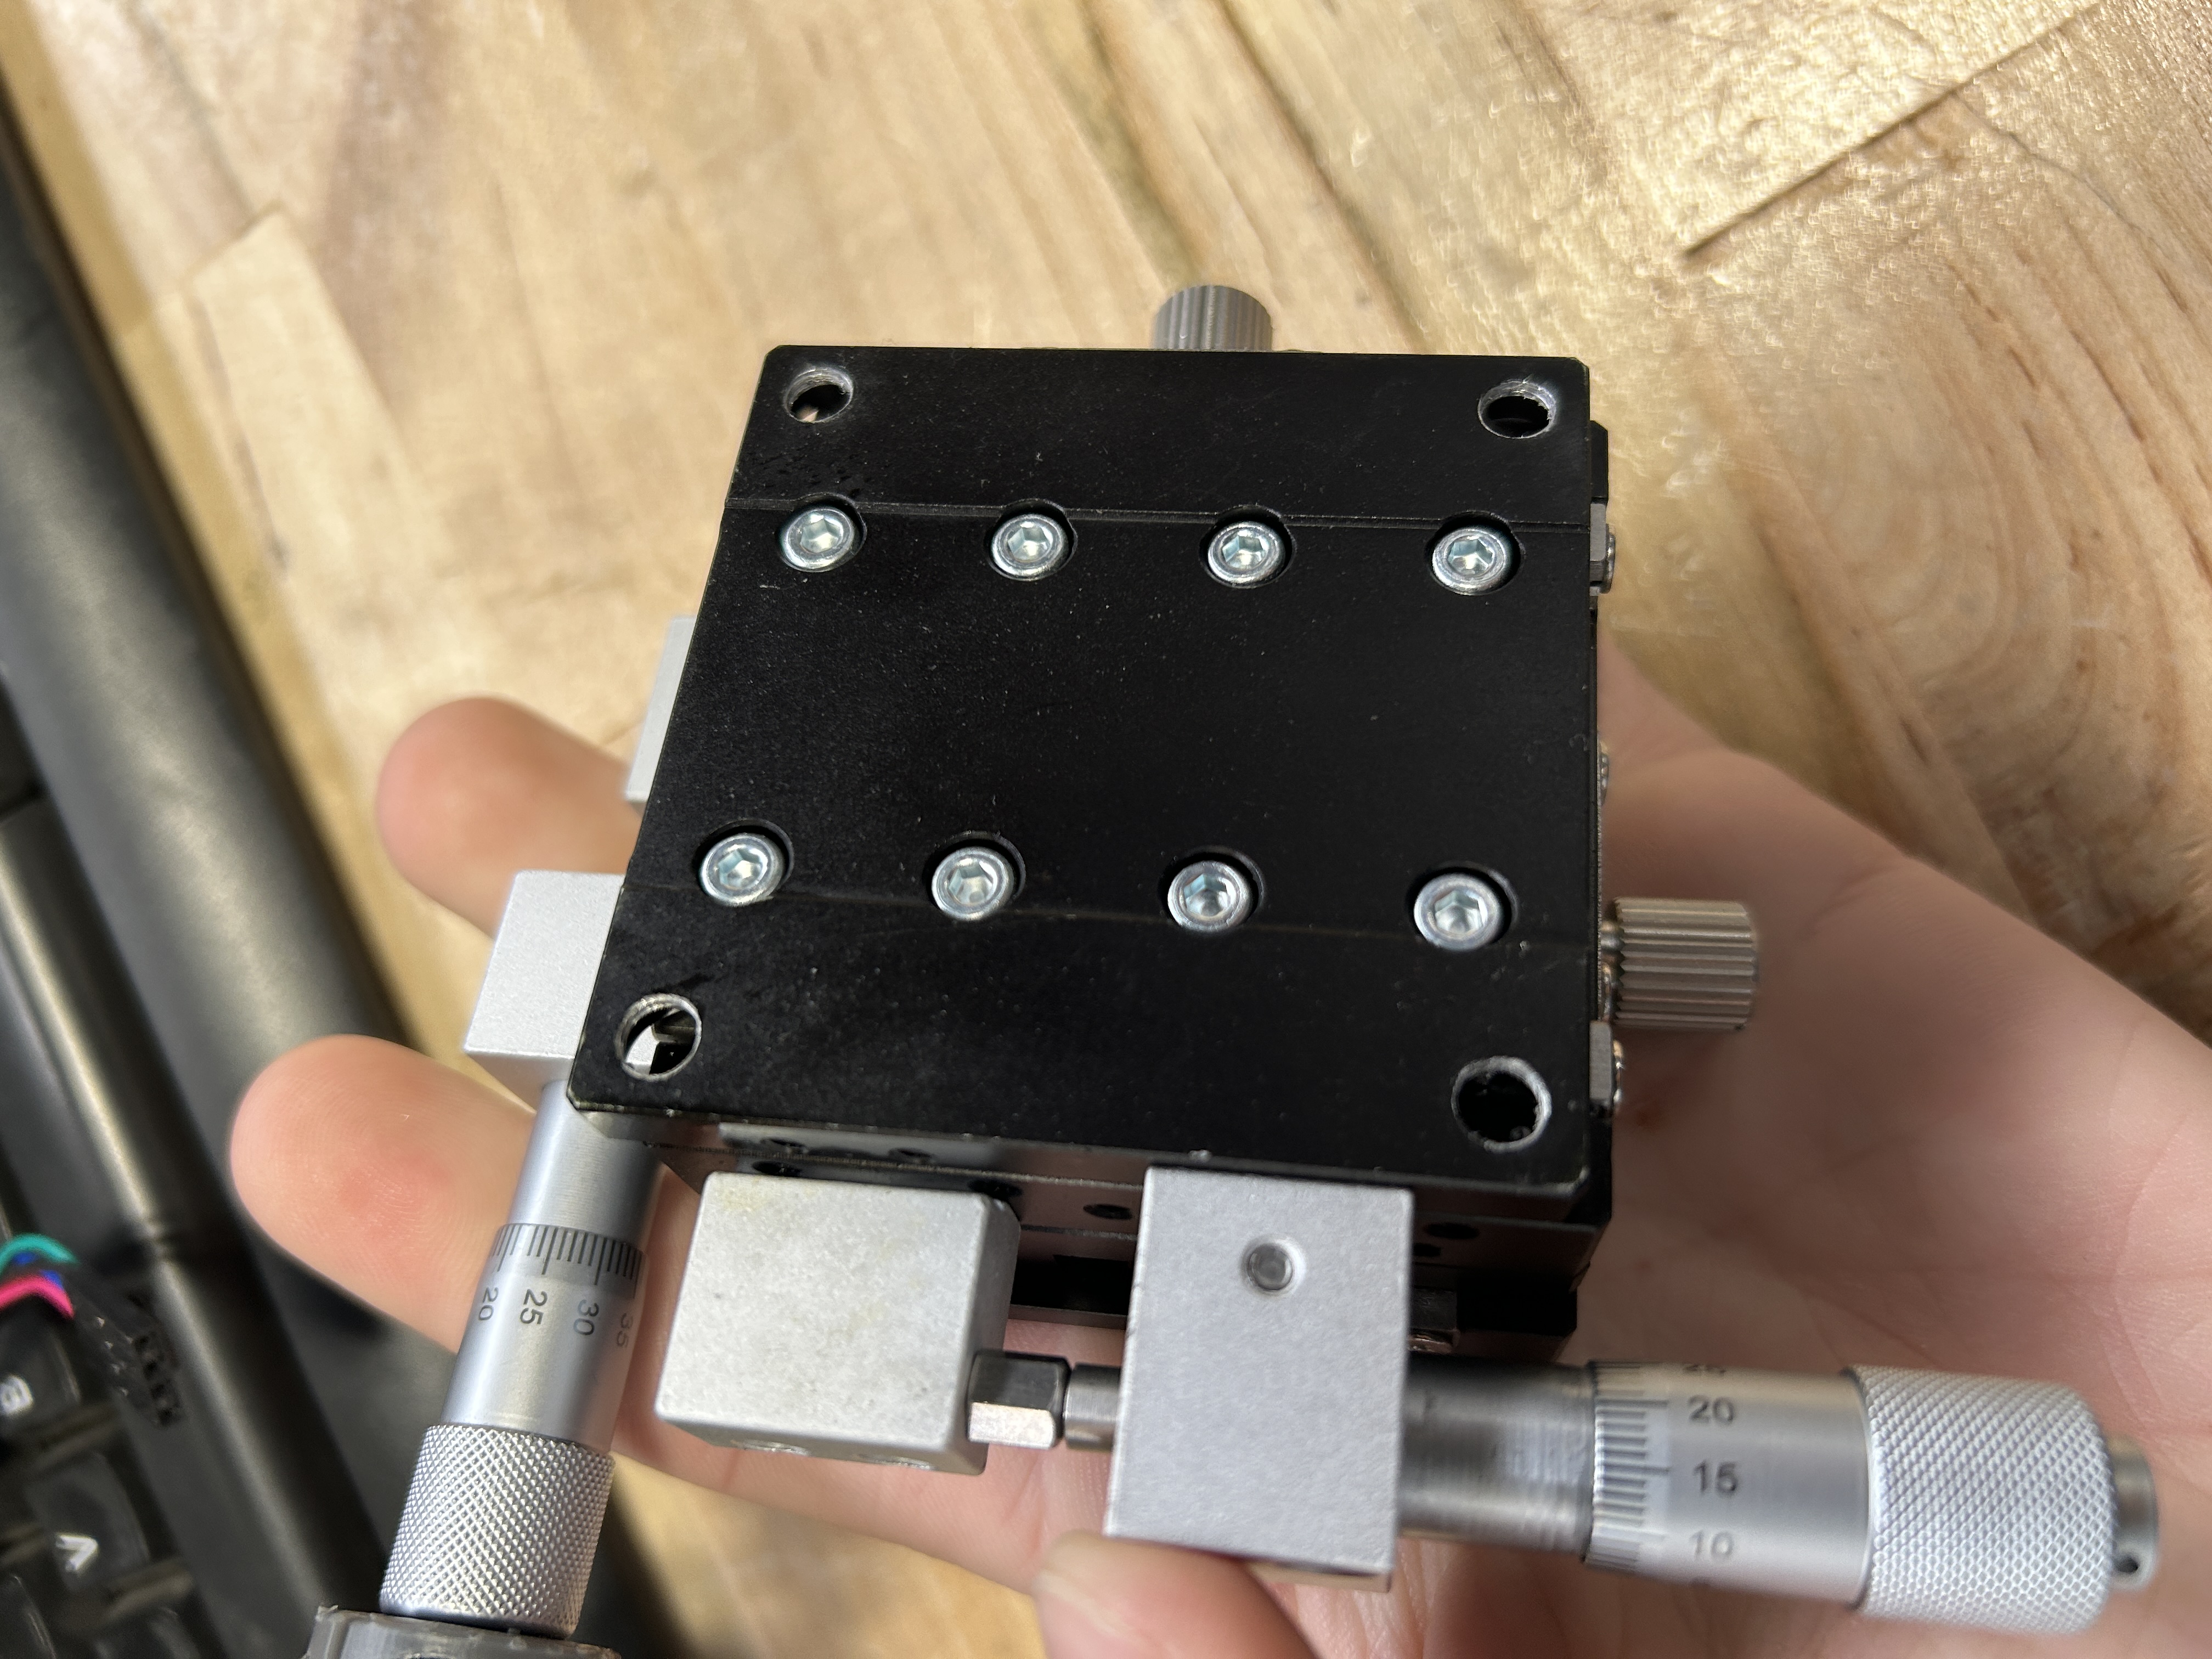
So, now that I had the plate all done, I test fitted the stage. Unfortunatly I messed up in the design of the stage. I accidentally modeled the stage mirroed, so the mircrometer handels don’t line up. The other problem is that there is no threaded holes on the other side of the stage so I can’t just mount it upside down. I ended up tapping the unthreaded holes on the stage for M5 threads and then drilling out the other holes on the plate. Annoyingly the drill bit that I grabbed out of the box, which was from the correct bin, was the wrong size making the threads pretty bad.

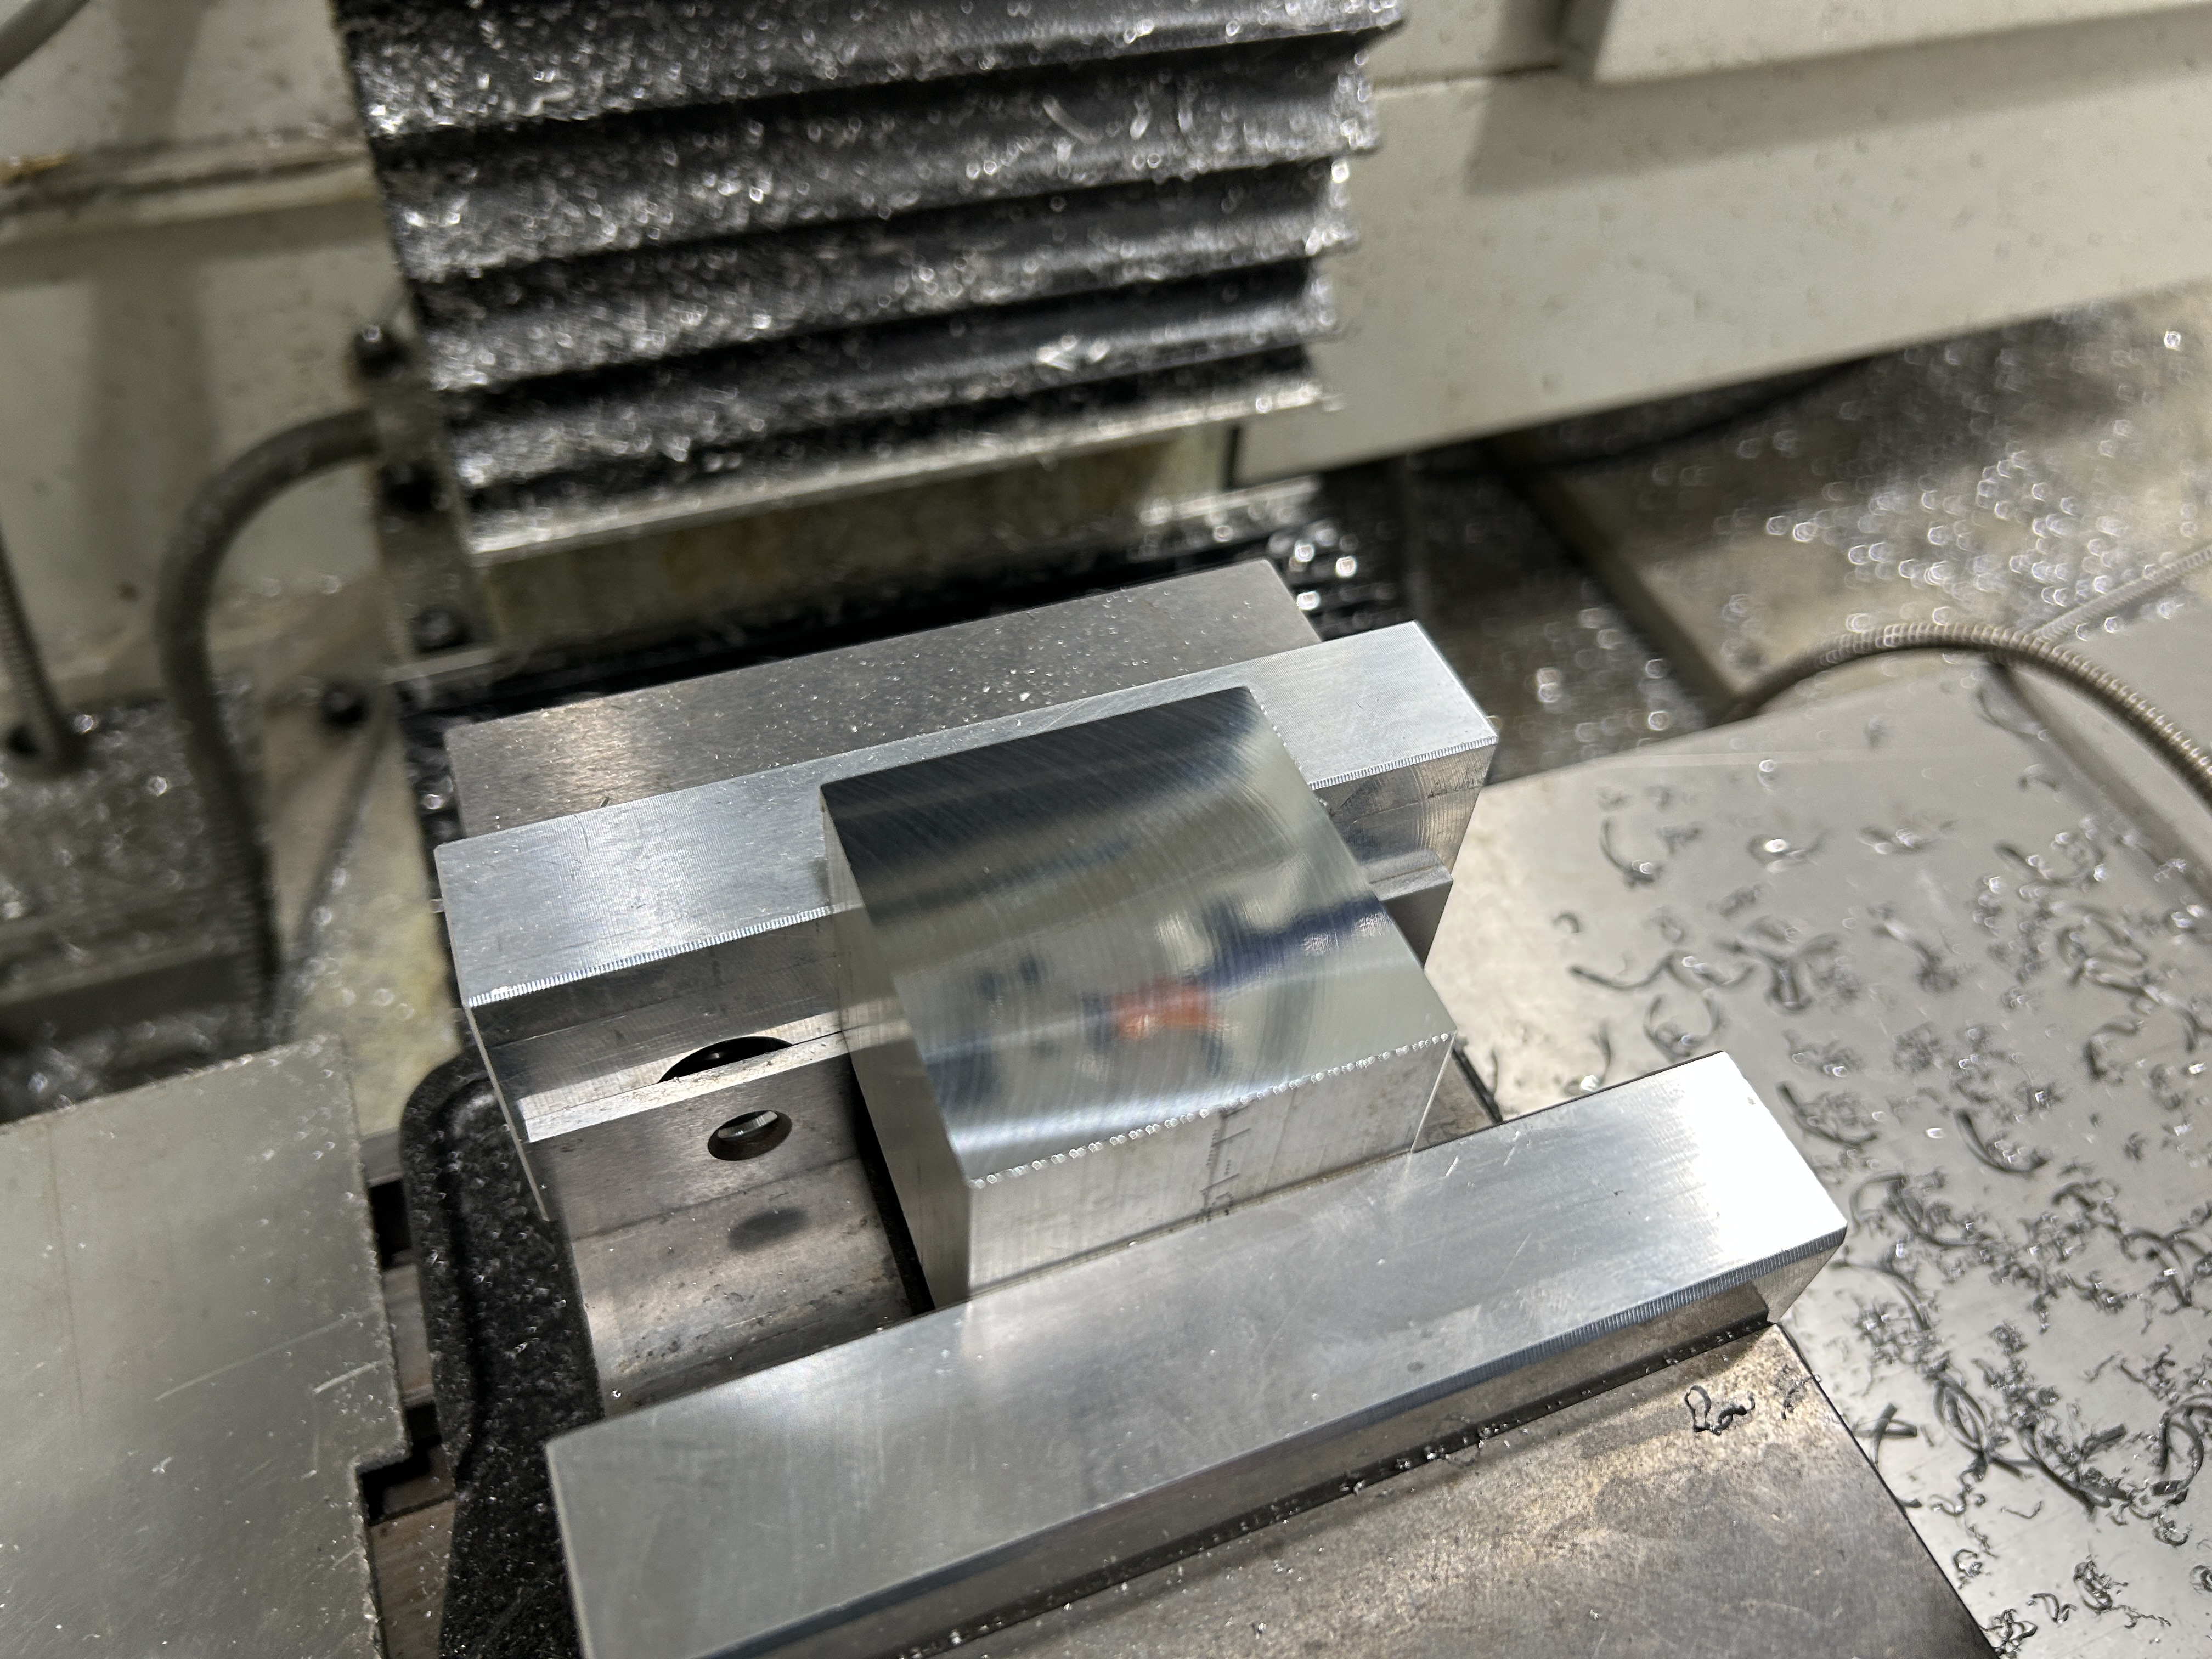
Thursday
Thursday I started the rails.
After the mishaps of last week I was a little scared to use the Tormach again but I didn’t really want to spend all of the time doing it manually. However interesting manual machining is definitly slower and after the speed bump I just encountered I need to save all the time I can. The other motivation is that I need to bore some pretty precise holes, and I cant really do that any other way.
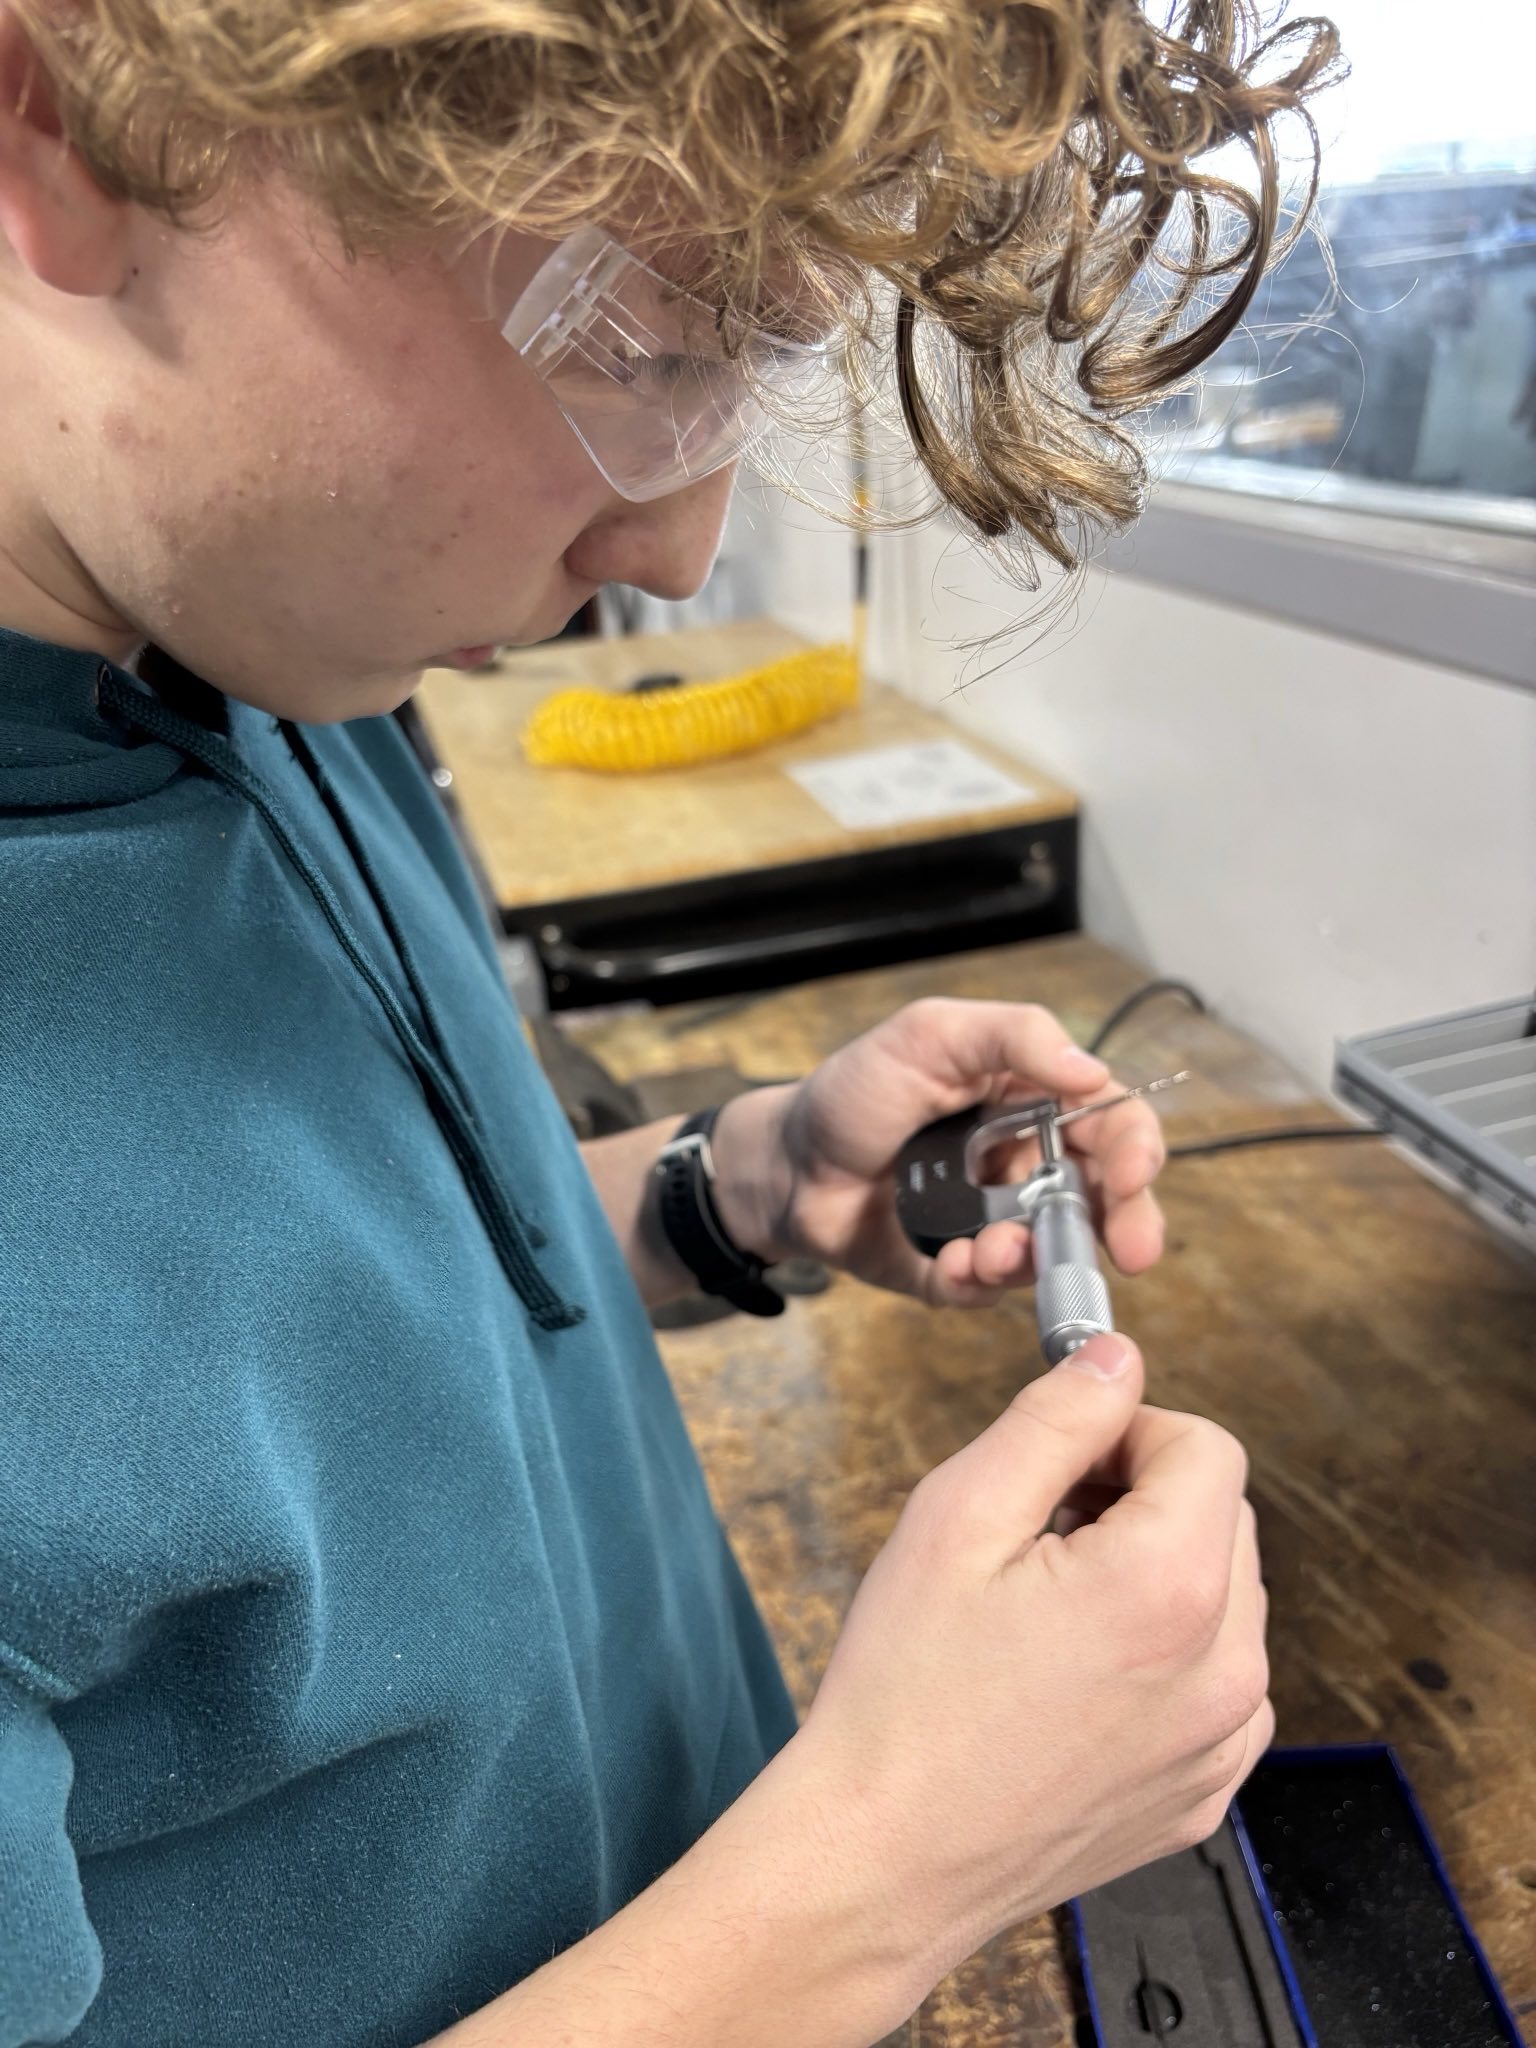
First, I had to finish up the CAM program that I started on Wednesday after school, but there was no power going to the back row of computers because of electrical work going on. Instead Tanzy and I organized all of the drills and made sure they were in the right spots, mostly because I was salty from the mishap the day before.
Once the power was restored I was able to put the finishing touches on the CAM file, and start setting up the mill. I got my stock set up as well as got all of the tooling in the mill and set the length offsets.
The facing went perfectly, as well as the 1/2" endmill roughing. The sketchy part was the 1/4" endmill however. I’m not sure, but I beleive I forgot to enable multiple depths as it was taking very deep cuts, with still about 20% engangement thankfully.

Next Week
On Friday I need to finish up the machining for the rails, which will probably take the whole day. Next week I will start and most likely finish machining the pins. These need to be pretty accurate, around thousanths accuracy so we will see how that goes.