Senior Week 14
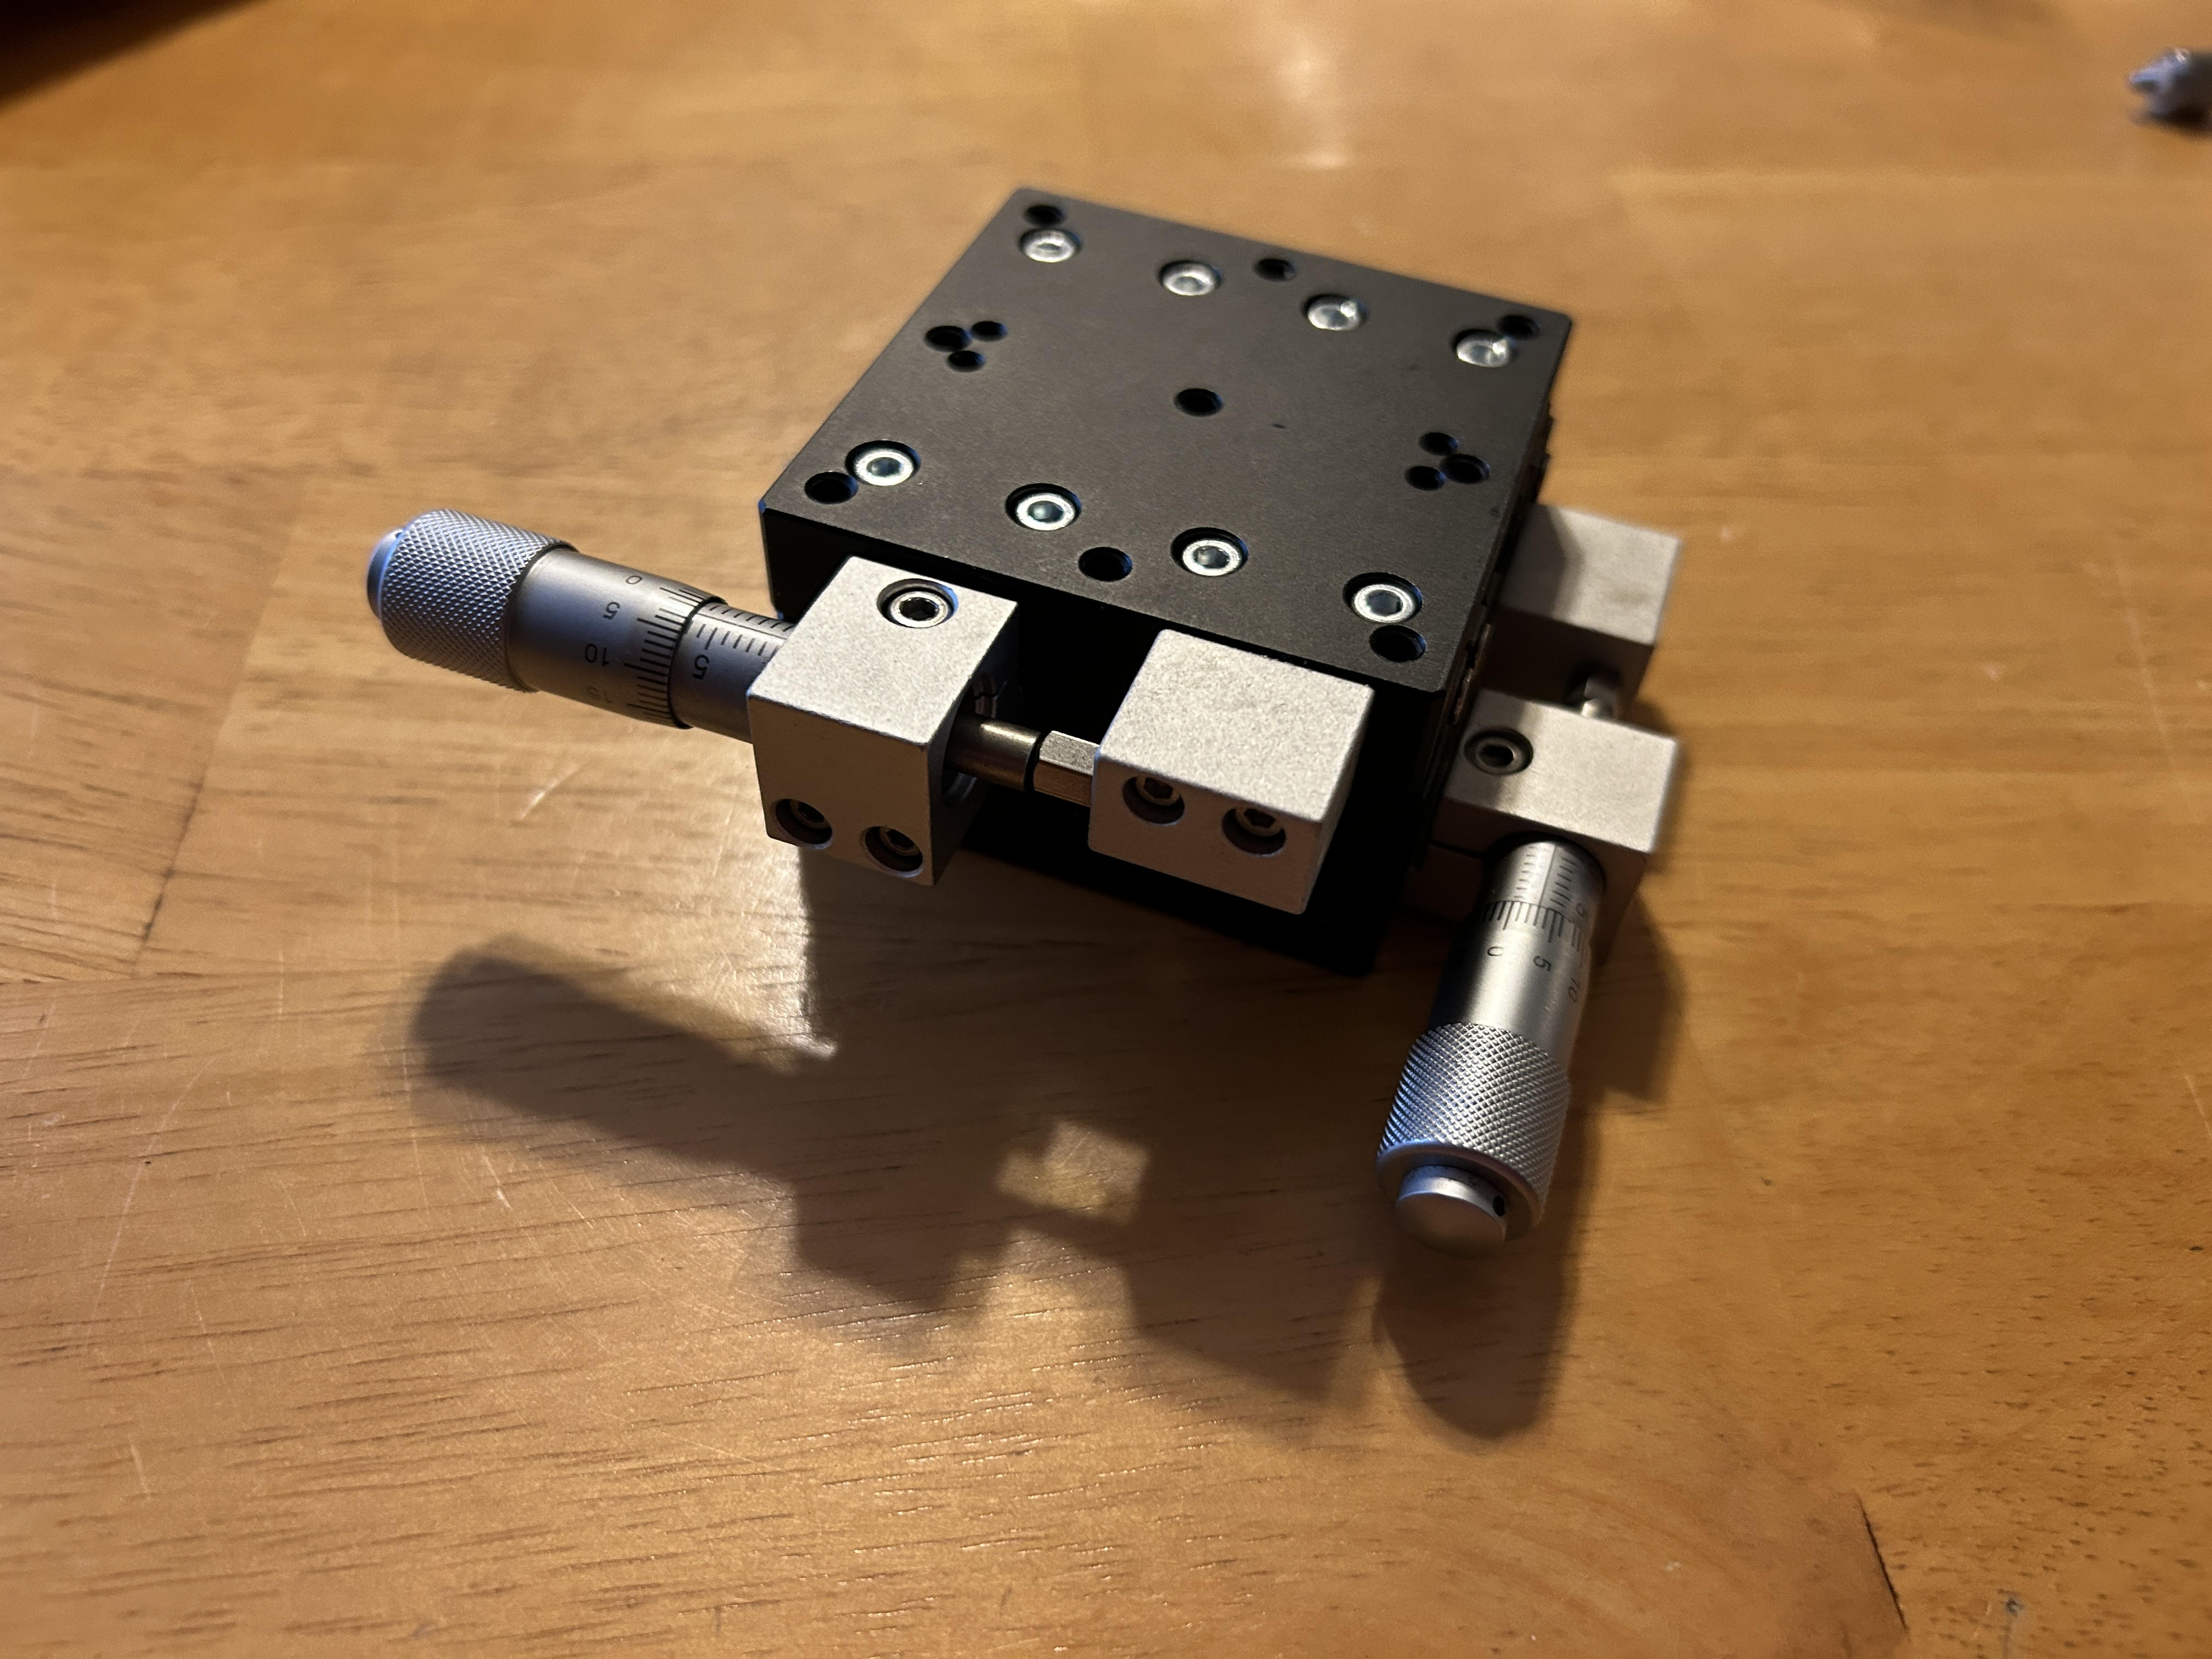
Once I realizer that the stage was going to be late on its delivery date, I decided to try to model it with a lot of perameters and try to make it super adjustable. I think that this was an interesting yet hard exercise which I enjoyed. What I didn’t enjoy quite as much was getting the stage and then realizing that 3/4 of the modeling work I had done was useless. Because the bottom stage moves the top stage in the other directions, this means that the top micrometer moves laterally, which I didn’t account for in my designs. The good thing though is that it both simplifies the new motormount design, and I get to still use the cool design that I made for the bottom micrometer.

Now I have to make a new motormount for the Y axis, that mounts to the top plate. Because the micrometer handle moves in and out at the same rate, this means that I don’t even need to make it slide, significantly simplifing the design. It is also a bit unfortunate that this won’t work on the x-axis as there is nowhere to mount onto the top bit of the stage.

After this is fixed, I need to make a little 3d printed z-axis. This will just be manually calibrated and adjusted as it doesn’t need to move for testing.